
It looks pretty similar to other ikat styles, but instead of being arranged in a pattern it is just a continuous concentric... ikat. Either way, I kind of liked the finished result, so I decided to share a tutorial with you!
Here is what I used:
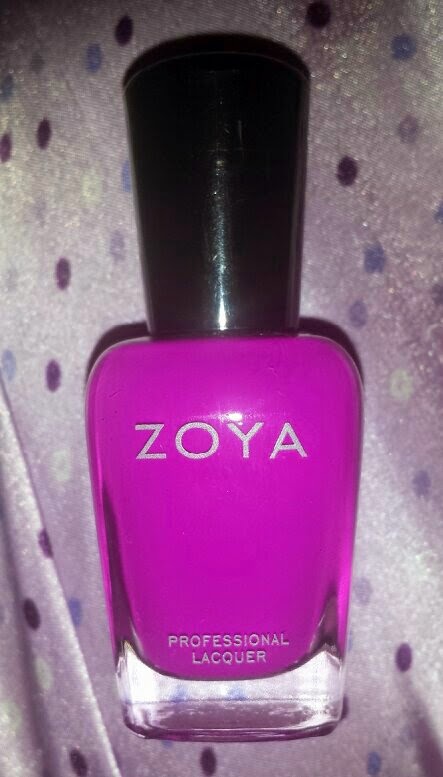
- Zoya - Charisma (for the coloured nails)
- Sinful Colors - Snow Me White (base colour for the pattern)
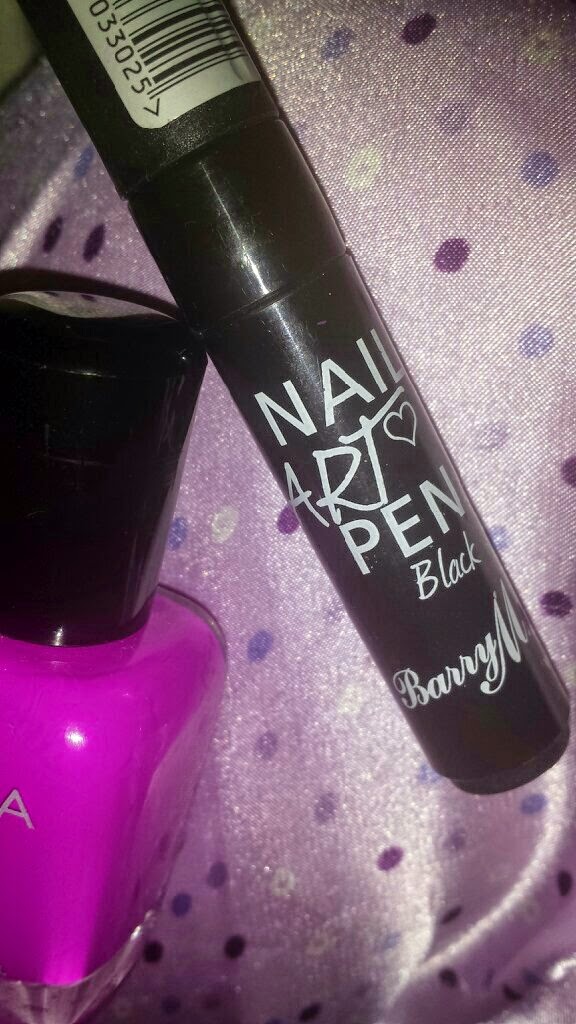
- Barry M - Nail Art Pen in Black
- OPI - Natural Nail Strengthener
- Seche Vite - Dry Fast Top Coat
What you will need:
- A colour choice for the coloured nails
- A white polish or other base for the ikat/concentric circles that you would like
- A nail art pen/striper brush & acrylic paint or nail polish
- A base coat
- A top coat
The colour choices are really up to you!
How to:
Start off by applying your base coat. Once dry, apply the colour that you have chosen for the coloured nails (in my case, Zoya - Charisma) to your little finger nails, pointer fingers and thumb nails.
Next, apply your ikat/concentric circles base shade onto your two middle fingers - in my case Sinful Colors - Snow Me White. If either of the polishes need a second coat, wait for the first coat to dry and then apply the second.


The next step is going to be dependent on the product/s you have chosen for the ikat pattern. I used Barry M's Nail Art Pen in Black, but I feel that this pen works far better on top of a top coat rather than onto nail polish. I honestly have no idea why that is, but my speculation is that the nails aren't dry enough. To test that though, once I waited about three hours before trying to apply the pen over the top of dry nails and it just wouldn't work. Instead, it ripped up my nail polish and looked very messy!
When applied on top of a top coat, the pen works a treat! So, if you are using the nail art pen, I recommend that you apply a top coat onto your middle two finger nails at this point and wait for them to dry. If you are using a striper brush and paint/nail polish, you can apply these on top of the polish without a layer of top coat first.
At this stage of my manicure, my camera died. The timing was nothing short of fantastic! However, I have drawn some nice little illustrations instead to show how it is done:

Using tiny lines in a vertical direction, draw a tiny diamond onto the nail with the pen/striper brush.
Next, I find it easiest to add guide lines for the next diamond. Add a small line above the diamond, below and to both sides. Use these guides to continue adding small lines in vertical motions to create the shape of your diamond.
Continue to do this until you cannot fit any more diamonds around your centre one.
Do this to both of the middle fingers on both hands and there you have it!
Apply your top coat to all nails, allow to dry and sit back to enjoy your new design!

I'm still not quite sure as to whether I should be describing this design as ikat or concentric circles, but if you have any suggestions of what to call it then please do leave a comment below!
If you are more inclined to try out the more traditional ikat design, check out this photo from my Instagram. It isn't a tutorial, but it uses the same general idea in regards to the design.
Have you ever tried out ikat nails?
Let me know in the comments below!
Zoe. @Beautifinous


No comments:
Post a Comment